How to sanitize rv water system: Quick steps for clean water
Buying a Used RV
How to sanitize rv water system: Quick steps for clean water
By Searchshop Editorial Team21 min readNovember 7, 2025Updated January 2, 2026
Some links in this article are affiliate links. If you buy through them, Searchshop may earn a commission at no extra cost to you. Learn how this works.
Sanitizing your RV's water system isn't just another chore on the maintenance checklist; it's a fundamental part of responsible RV ownership. At its core, the process is straightforward: you're going to flush the entire plumbing system with a specific bleach-and-water solution to get rid of any nasty stuff that might be growing in there.
This usually means draining the tank, adding a carefully measured amount of bleach, filling it back up with fresh water, and then running that solution through every single faucet and fixture. After letting it sit for a few hours to work its magic, you'll flush the whole system until nothing but clean, fresh water remains. It’s a non-negotiable step for safe travels.
Why You Absolutely Can't Skip Sanitizing Your RV Water System
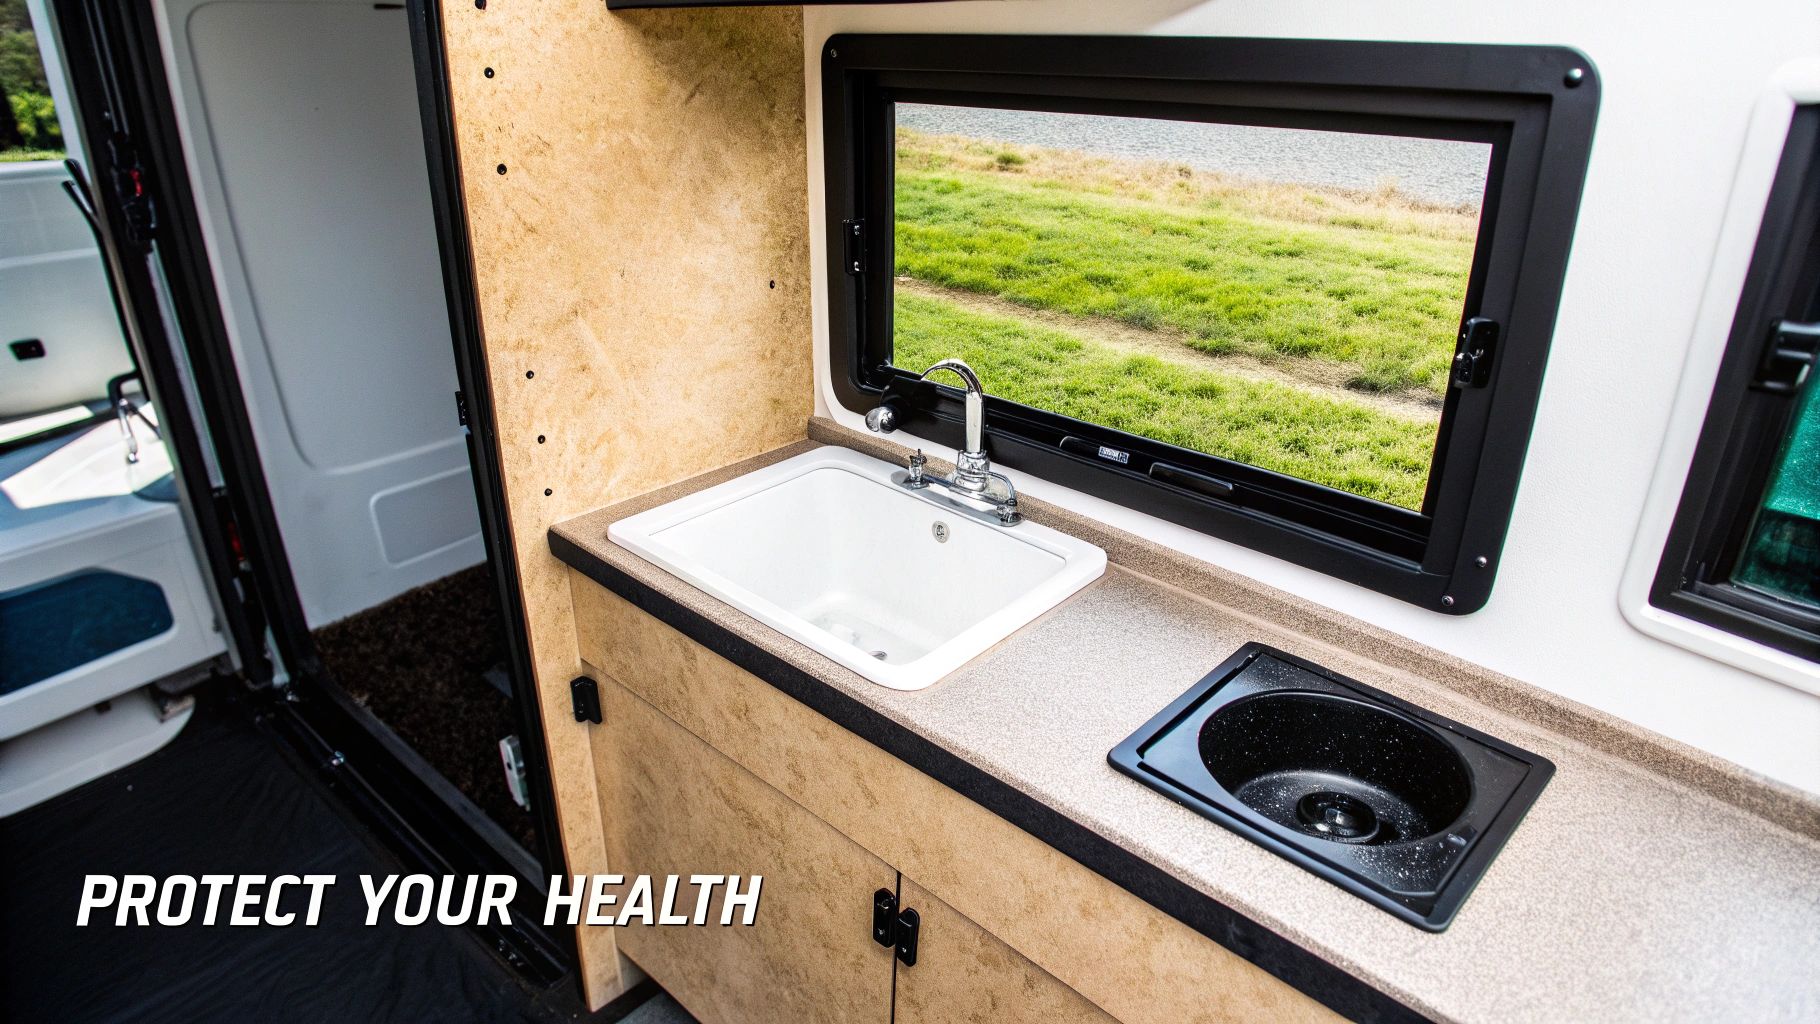
Let's be honest, it’s easy to forget about what you can't see. But inside your RV's water tank and plumbing lines, the dark and damp environment is a perfect playground for bacteria, mold, and algae. If left unchecked, this can create a slimy, gunky layer called biofilm that clings to the inside of your pipes and tank.
This isn't just about water that tastes funky or smells a bit off. That contamination can pose a serious health risk, leading to stomach bugs or other illnesses that can derail a trip fast. Think of it as essential preventive healthcare for your home-on-wheels.
It’s More Than Just a Quick Rinse
Before we get into the "how-to," it’s important to understand the crucial difference between sanitizing and cleaning. Cleaning gets rid of visible dirt and grime. Sanitizing, on the other hand, kills the microscopic organisms you can't see. This is exactly why just running fresh water through the system isn't enough to get the job done.
A proper sanitization process accomplishes a few critical things:
Kills Harmful Pathogens: It takes out nasty bacteria like E. coli and Legionella, both of which love to hang out in stagnant water.
Improves Your Water Quality: You'll finally get rid of that stale, "plastic-y" taste and musty smell that often develops after an RV has been sitting for a while.
Protects Your Plumbing: Keeping the system clean helps prevent the kind of buildup that can eventually damage your water pump, clog faucets, and cause other headaches down the road.
Simply put, sanitizing your RV water system is one of the most important responsibilities of RV ownership. It ensures that the water you use for drinking, cooking, and showering is safe for you and your family. This isn't just a best practice; it's a fundamental step for worry-free travel.
Making this a regular part of your RV routine—especially when you de-winterize in the spring or pull the rig out of storage—gives you the confidence that your water is clean and safe on every single trip.
Gathering Your Gear and Prepping Your Rig
Let's be honest, nobody loves sanitizing their RV water system, but doing it right is one of the most important maintenance tasks you can perform. A little prep work upfront makes the whole process smoother and ensures you get a truly clean system without any frustrating surprises. Think of it as setting the stage for a successful, hassle-free job.
First things first, let's get your toolkit together. Having everything within arm's reach before you start means you won't be scrambling mid-process.
Plain, Unscented Household Bleach: This is critical. Steer clear of any bleach that's scented, "splash-less," or has any other fancy additives. Those extra chemicals are not something you want in your plumbing or your body.
A Dedicated "Fresh Water" Hose: I can't stress this enough. Never use the same hose you use for rinsing your black tank. Keep a separate, clearly marked hose (usually white or blue) just for your fresh water to avoid dangerous cross-contamination.
Measuring Cup and Funnel: Eyeballing the bleach amount is a bad idea. Precision is your friend here for both safety and effectiveness. A simple funnel will save you from spilling corrosive bleach all over the side of your rig.
Getting Your RV Ready for a Deep Clean
With your supplies in hand, it's time to prep the RV itself. The goal here is to get every last drop of old water out of the system. If you don't, the sanitizing solution gets diluted and won't be as effective.
Before you drain anything, head inside and turn off your water heater. Draining the tank while the electric heating element is on can burn it out in seconds—a costly and completely avoidable mistake. Double-check that your water pump is switched off, too.
Now, let's get that system empty. This is more than just opening the fresh water tank drain.
Drain the Fresh Water Tank: Find the main drain valve for your fresh water tank (usually a T-handle or a small valve underneath the rig) and open it up. Let it run until it stops.
Open the Low-Point Drains: Your RV will have two low-point drains, one for the hot water lines and one for the cold. Open both of these to get the water out of the plumbing itself.
Empty the Water Heater: A lot of people forget this part. Your water heater holds 6 to 10 gallons of water that needs to go. Carefully open the pressure relief valve at the top to let air in, then remove the anode rod or drain plug at the bottom. Stand back!
Expert Tip: As the tanks are draining, go inside and open every single faucet—kitchen sink, bathroom sink, shower, and even the outdoor shower. This breaks the vacuum in the lines and helps push every bit of water out for a truly empty system.
Finally, the most important step before you add the bleach solution: engage your water heater bypass valve. This isolates the water heater tank, preventing it from filling up with gallons of bleach water. It saves you time, money (on bleach), and makes the final flushing process way faster. If you have an onboard water filter, pop the cartridge out now so the bleach doesn't ruin it.
Once you've done all that, you're officially ready to start the sanitizing process.
The Sanitization Process From Start to Finish
Alright, with your RV prepped and your gear laid out, it's time to get down to business. This is where precision really counts. We're going to mix the sanitizing solution, make sure it gets into every single pipe, and then let it sit long enough to work its magic. If you rush this part, you could end up with a system that's only partially clean, and that defeats the whole purpose.
First things first, let's figure out exactly how much bleach you'll need. It's a bit of a Goldilocks situation—too little won't kill the bacteria, but too much can be harsh on your plumbing. The good news is, the math is straightforward.
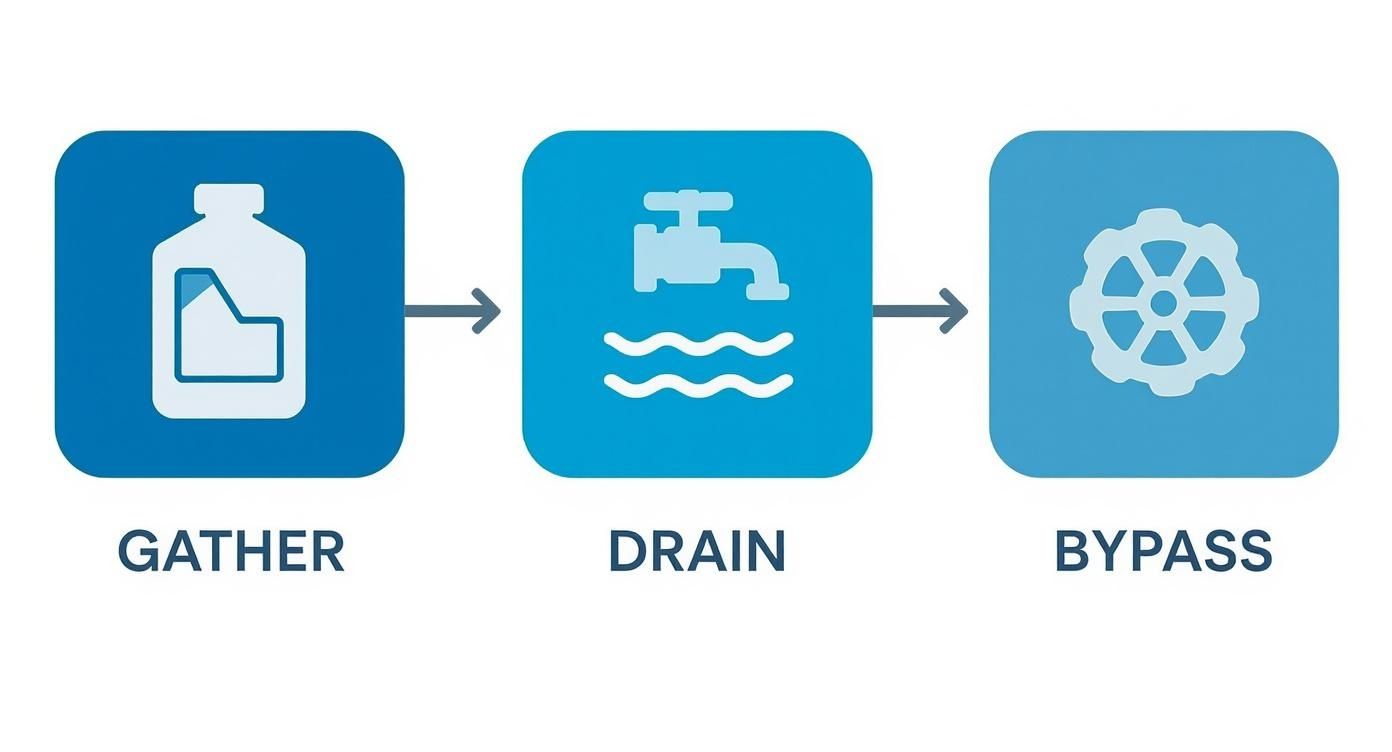
The infographic below gives you a great visual checklist of the prep work. Nailing these steps before you even touch the bleach will make the whole process go a lot smoother.
As you can see, getting your supplies together, completely draining the old water, and bypassing sensitive components like your water heater are the non-negotiable foundations for a successful flush.
Calculating and Mixing the Bleach Solution
Shop RVs For Sale
Browse current rvs from dealers near you — updated daily.
To knock out any nasty bacteria, you need the right concentration of bleach. The tried-and-true guideline is to use about one ounce of household bleach for every eight gallons of water your fresh water tank holds.
This works out to roughly a quarter-cup of bleach for a 15-gallon tank. This ratio is designed to create a 50 parts per million (ppm) chlorine solution—strong enough to be effective but still safe for your plumbing system.
To make things even easier, here's a quick reference guide.
Bleach to Water Ratio for RV Sanitization
This simple table will help you quickly find the right amount of household bleach for your specific fresh water tank size. Just find your tank capacity and measure accordingly.
Tank Size (Gallons)
Bleach Amount (Ounces)
Bleach Amount (Cups)
20 Gallons
2.5 oz
Approx. ⅓ Cup
40 Gallons
5 oz
Approx. ⅔ Cup
60 Gallons
7.5 oz
Approx. 1 Cup
80 Gallons
10 oz
Approx. 1 ¼ Cups
Keep this chart handy, as it takes the guesswork out of the most critical step.
Once you've measured out the correct amount, never pour concentrated bleach directly into your fresh water tank. This is a rookie mistake that can damage the tank. Instead, dilute it in a separate gallon of water first. Then, use a clean funnel to pour that diluted mixture into your RV's fresh water fill port.
After the bleach solution is in, fill the rest of the tank with fresh water until it’s completely full. This helps ensure the bleach is evenly distributed right from the start.
Circulating the Solution Through Every Pipe
Now that your tank is full of the sanitizing solution, it’s time to get it flowing through every single pipe, faucet, and fixture in your RV. Your water pump is the key to this part.
Here’s how you do it:
Power Up the Pump: Go inside your rig and turn on the water pump. You should hear it kick on and pressurize the lines.
Open Every Faucet (Cold First): Start with the faucet farthest from the pump, usually the kitchen or bathroom sink. Open the cold water tap and let it run until you can smell the distinct scent of bleach. Once you do, shut it off.
Repeat for Hot Lines: Now, do the same thing for the hot water side of that faucet. This pushes the solution through the hot water lines. (Since your water heater is bypassed, you're just cleaning the pipes, not filling the heater).
Move Through the RV: Continue this process for every single faucet—the bathroom sink, the indoor shower, and don't forget the outdoor shower if you have one.
Flush the Toilet: Finally, flush your toilet several times until you can smell bleach in the water that fills the bowl.
Pro-Tip: After the tank is full and before you run the water through the lines, take your RV for a short, gentle drive. Just a trip around the block is enough. The sloshing motion helps the bleach solution coat every interior surface of the tank, giving you a much more thorough cleaning.
Once you’ve circulated the solution through every fixture, turn off the water pump. The hard part is over! Now, it’s just a waiting game. The bleach needs time to sit in the system to disinfect everything properly. For more tips on keeping your system running smoothly year-round, check out our guide on plumbing for RV essential maintenance tips.
Letting the Bleach Work Its Magic and Flushing the System
So, you’ve managed to get the bleach solution running through every single pipe and faucet in your RV. It’s tempting to think you're on the home stretch, but this next part is all about patience. The waiting game is just as important as the prep work, and rushing it can undo all your effort.
This whole sanitizing process relies on something called dwell time—basically, how long you let the bleach solution sit in your tank and plumbing. This is when the chlorine gets to work, neutralizing any nasty bacteria, mold, or slimy biofilm that might have taken up residence in there.
The Waiting Game: Why Dwell Time Matters
One of the most common mistakes I see RVers make is getting impatient and cutting the dwell time short. It’s like wiping a disinfectant on your kitchen counter and immediately wiping it off; you’re not giving it the time it needs to actually kill the germs. The same logic applies to your RV’s plumbing.
For a decent sanitization, you need to let that solution sit for a bare minimum of four hours.
But if you really want to do the job right—especially if it's the first cleaning of the season or you have any reason to suspect the water might be funky—let it sit for 8 to 12 hours. A lot of us just fill the system in the evening and let it sit overnight. It’s the easiest way to get the job done right without watching the clock.
Pro Tip: Don't let the bleach solution sit for more than 24 hours. While you need it to be effective, leaving it in too long can be unnecessarily harsh on the plastic and rubber components in your water system. That 4 to 12-hour window is really the sweet spot.
After enough time has passed, it's time to get that chlorine solution out and fresh water back in. Flushing the system properly takes a bit of time and thoroughness if you want to avoid your morning coffee tasting like a swimming pool.
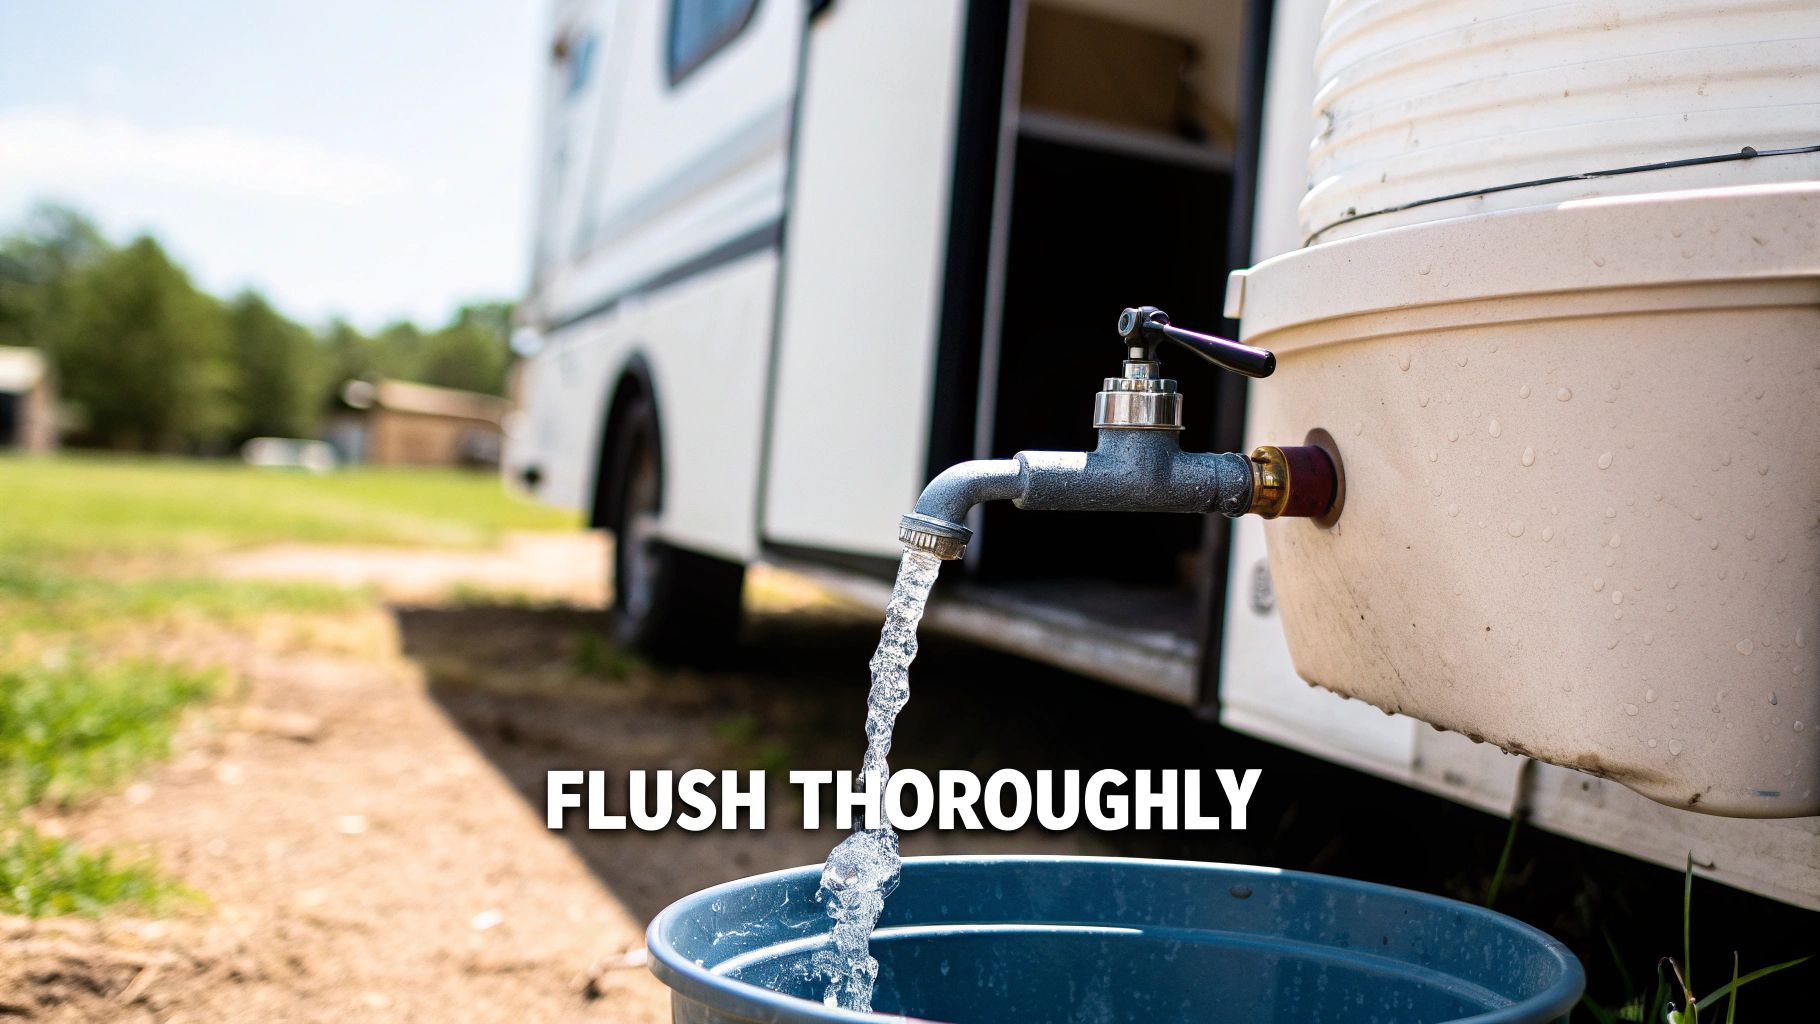
Time to Flush: Getting the Bleach Out
The goal here is simple: remove every last trace of the bleach solution. This isn't just a quick rinse. Expect to fill and drain your fresh water tank a couple of times to get it completely clear.
First, drain the entire bleach solution from your fresh water tank using the low-point drain. When it's empty, close the drain and fill the tank to the top with fresh, clean water. Now, you’re just going to do the same thing you did to get the bleach in, but with fresh water to push it out.
Fire up the water pump to get the system pressurized again.
Open all the taps, starting with the one furthest from the pump. Open both the hot and cold sides and let them run.
Do the sniff test. Keep running water through every single outlet—kitchen sink, bathroom faucet, shower, toilet, even the outdoor shower—until you can't smell even a faint hint of chlorine. Your nose is the best tool you have for this job.
You will almost certainly need to drain and refill your fresh water tank at least twice, and maybe even three times, to get all the bleach smell out. Don't worry if you still smell it after the first flush; that's totally normal. Just stick with it—drain, refill, and run the water through all the lines again.
Once that chlorine smell is completely gone from every faucet, your job is done. You've successfully sanitized your RV's water system and can hit the road knowing you've got safe, clean water for your adventures.
Creating a Smart Sanitization Schedule
Think of sanitizing your RV's water system like changing the oil in your engine. It's not just a one-and-done chore; it's a vital part of your regular maintenance that prevents some seriously nasty problems from cropping up later. A consistent schedule is the only way to guarantee your water stays safe, tasteless, and odor-free on all your adventures.
For most of us, the best time to tackle this is right after de-winterizing in the spring. This process not only flushes out any residual antifreeze but also wipes out any bacteria that decided to move in while your rig was in storage. It's the perfect way to start the camping season with a completely fresh system.
Key Moments for Immediate Sanitization
Beyond your annual spring cleaning, some situations pop up that should trigger an immediate system flush. These aren't suggestions—they're moments when you absolutely need to prioritize sanitizing.
After Buying a Used RV: You have zero idea what's been in that tank or how diligent the previous owner was. Do yourself a favor and start your ownership fresh with a thoroughly sanitized system.
When a Tank Sits with Water: If your RV has sat for more than a couple of weeks with water just sitting in the fresh tank, it’s time for a cleaning. Stagnant water is basically a party invitation for biofilm and bacteria.
If You Use a Questionable Water Source: We've all been there—you pull into a site and the water spigot looks like it hasn't been touched in a decade. If you have any doubt about the quality of a water source, sanitize as soon as you get a chance.
Most experts recommend that full-time RVers sanitize their fresh water system every six months. If you're a part-timer, it's essential to do it after any long storage period, especially if water sat in the system for two weeks or more. This is just one piece of the puzzle; you can add it to your bigger RV maintenance checklist to avoid common pitfalls.
A proactive schedule is your best defense against contamination. Don't wait for a bad smell or taste to tell you there's a problem—by then, the bacteria have already made themselves at home. Staying ahead of it is key.
This isn’t just about following a manual; it’s about protecting your health and the integrity of your RV’s plumbing. By recognizing these critical moments, you can build a reliable schedule that keeps your water pure and safe. To dig deeper into the timing and reasons for this crucial task, Escapees.com offers some great insights. When sanitization becomes a predictable part of your RV routine, you can spend less time worrying about water quality and more time enjoying the journey.
While plain old household bleach is the undisputed champ for sanitizing an RV water system, I get it—it's not for everyone. Some folks prefer to avoid chlorine altogether, and thankfully, there are other options out there that can get the job done right.
One popular route is to use specialized, commercially-available RV sanitizers. These products are formulated specifically for RV plumbing systems and often use non-chlorine compounds like stabilized hydrogen peroxide. They're effective and take the guesswork out of measuring, though you can expect to pay a bit more than you would for a simple bottle of bleach.
You’ll also hear people talk about using vinegar. Let’s clear this up: vinegar is fantastic for descaling and getting rid of mineral deposits, but it’s not a true sanitizer. It just doesn't have the muscle to kill the nasty bacteria we're targeting here. So, while it has its place in RV maintenance, it’s not a substitute for a proper disinfectant.
Common Sanitizing Blunders and How to Sidestep Them
Over the years, I've seen a few common mistakes trip people up. Knowing what not to do is just as important as following the right steps, because a simple error can make the whole process pointless or even damage your rig's plumbing.
The biggest mistake I see? Using the wrong type of bleach. Never, ever use scented, splash-less, or color-safe bleach. These have additives, soaps, and perfumes that you definitely don't want in your drinking water. They can leave a nasty, harmful film inside your lines that’s a real pain to flush out. Stick to plain, unscented household bleach. If you're going the bleach route, it’s worth a moment to review the basics of making and using a disinfectant bleach solution safely to protect yourself and your RV.
Another critical error is forgetting to bypass certain components before you start.
Water Filters: Bleach will absolutely destroy your water filter cartridge in seconds. Always take the filter out before you begin.
Water Heater: While you need to sanitize the hot water lines, there’s no need to fill the entire 6-10 gallon water heater tank with bleach solution. It’s a waste of solution and makes the final flushing process take forever. Just use the water heater's bypass valve.
A proper sanitization is a cornerstone of getting your RV ready for the season, especially after it's been stored. Forgetting this step is a common oversight that can lead to foul-tasting water and potential health risks on your first trip out.
Finally, don't get impatient with the final flush. You're not done until that chlorine smell is completely gone from every single faucet. Seriously. This often means filling and draining the fresh tank two, sometimes even three, times. It's a tedious but crucial final step. This meticulous approach is also a key part of the de-winterizing process; our guide on how to winterize your RV shows how all these maintenance tasks fit together.
Your Top Questions About RV Water Safety, Answered
Whether this is your first time sanitizing your RV's water system or your fiftieth, questions always pop up. It's totally normal. Getting the process right is key to keeping your water safe and your plumbing in good shape, so let's tackle a few of the most common ones I hear from fellow RVers.
Can I Just Grab Any Bleach Off the Shelf?
Absolutely not. This is one area where you need to be picky. Never use scented or "splash-less" bleach for this job.
Those varieties are loaded with extra chemicals, soaps, and perfumes that you definitely don't want in your drinking water. They can leave behind a nasty, harmful residue that’s a real pain to flush out. Stick to the basics: plain, unscented household bleach is all you need.
How Can I Be Sure All the Bleach Is Gone?
The simplest and most effective tool you have is your own nose. When you can run every faucet (both hot and cold) and no longer smell even a hint of chlorine, you're pretty much there.
If you want to be extra cautious, you can grab some simple water quality test strips. They're cheap and will give you that final confirmation that the chlorine has been completely flushed from your system.
I’ve seen people make the mistake of thinking "more is better" with bleach. It's not. Using too much can actually start to corrode the delicate parts of your plumbing, like the rubber seals and gaskets. Stick to the tried-and-true ratio: one ounce of bleach for every eight gallons of water. It’s more than enough to do the job safely.
Ready to find the perfect RV for your next adventure? Searchshop makes it easy to browse, compare, and finance your dream rig. Explore thousands of new and used RVs at https://www.searchshop.com/rv.
SE
Written by
Searchshop Editorial Team
Vehicle research & buying-guide team
The Searchshop editorial team researches and writes buying guides, model reviews, and category roundups across RVs, boats, motorcycles, ATVs, autos, and snowmobiles. We combine hands-on product research, live dealer inventory data, and manufacturer specifications to help buyers make confident decisions.
Reviewed by Searchshop Review Board — credentialed industry professionals.